
Invite your team
Stay n Host is built for teams where different people touch different things: the person answering WhatsApp shouldn’t approve refunds, and the cleaner doesn’t need to see your P&L. Roles make that automatic - each seat’s navigation rail shows only what their role can use.
-
Open Setup → Team and click Invite user. Enter their email and name and pick a role (below). They receive an invite link; accepting it creates their seat. There is no password: they sign in with an emailed link, Google or Microsoft, and confirm their own phone number with a text-message code. Step by step: Invite a teammate.
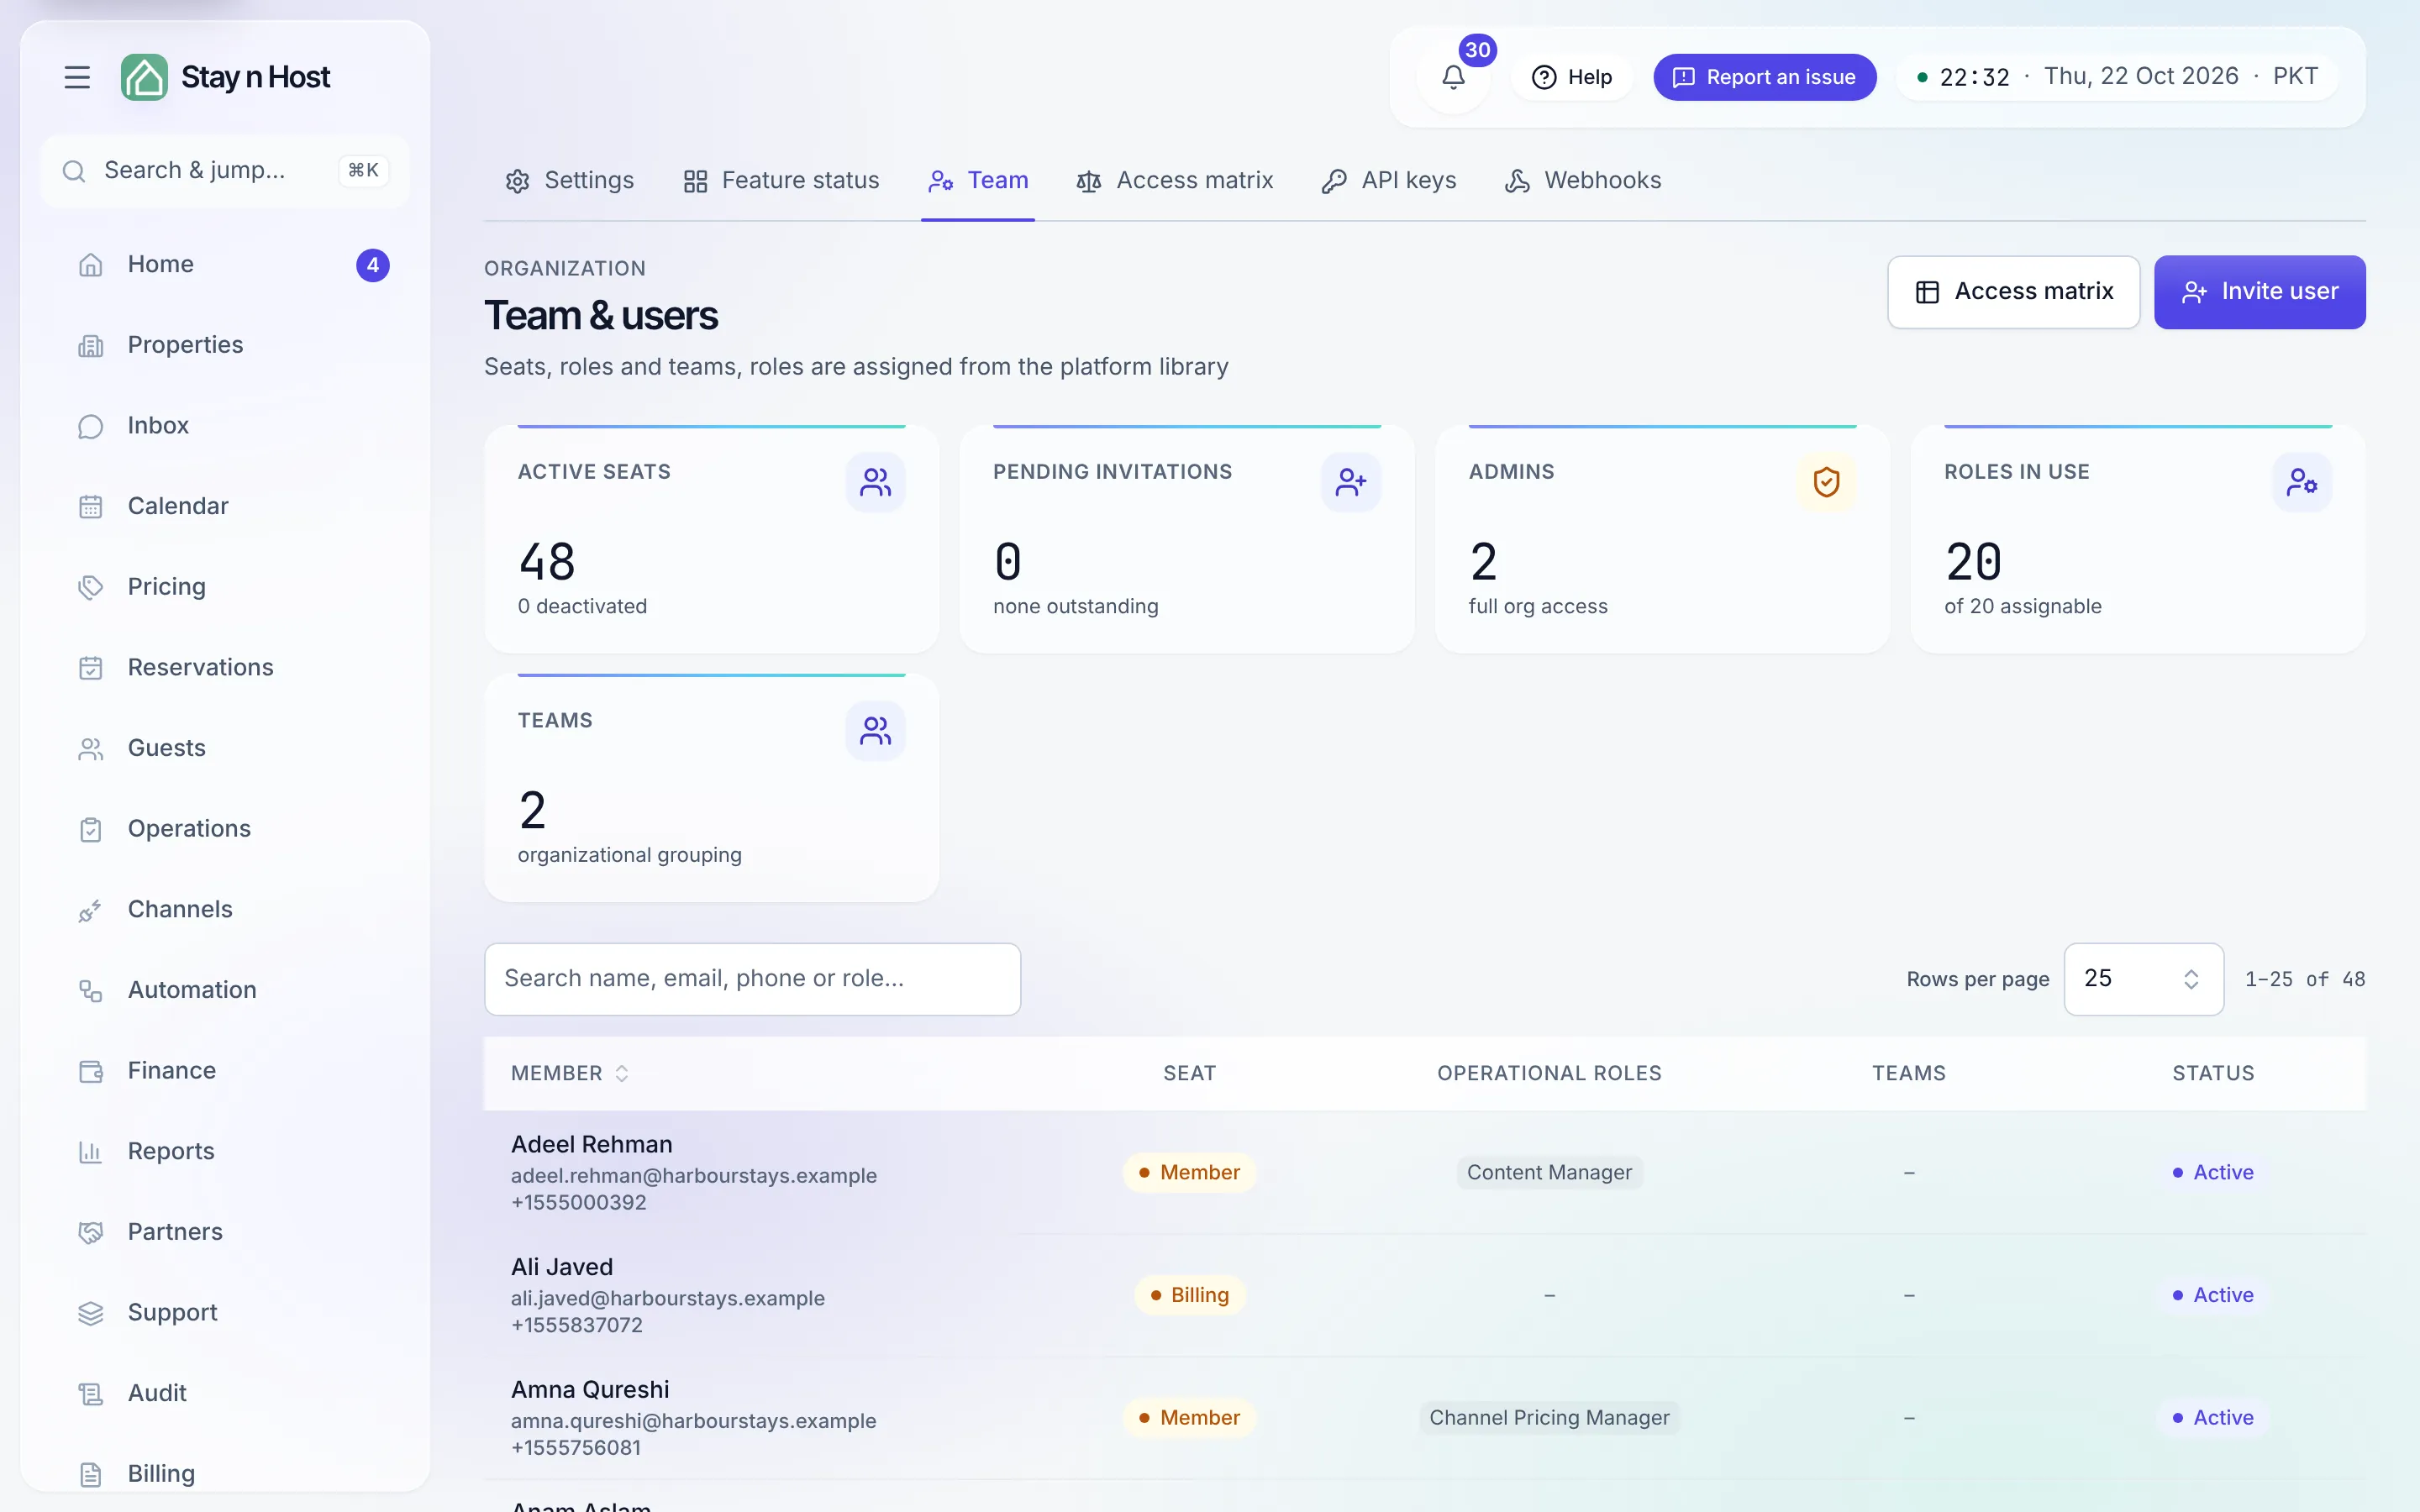
-
Scope them to properties if they shouldn’t see the whole portfolio. A seat scoped to Building A sees only Building A’s bookings, cleaning, and money - everywhere in the app.
-
Review your Approvals policy (Setup → Settings → Approvals): which actions in your workspace need an explicit approval step. Requests park on Home → Approvals until a seat with approval rights decides.
The roles, in plain terms
Section titled “The roles, in plain terms”The most-used roles - the full matrix of every role and permission is in Reference:
| Role | Give it to | They can |
|---|---|---|
| Admin | The workspace manager | Everything, including settings and billing |
| Point of Contact | Whoever answers guests | Inquiries, quotes, payment requests, check-ins, door-code hand-off |
| Booking Manager | Reservations lead | All of POC plus approvals, calendar blocks, direct bookings |
| Account Manager | Finance operations | Verify payments, refunds, expenses, bank accounts |
| Property Manager | Ops/building lead | Housekeeping dispatch, inspections, maintenance, calendar blocks |
| Cleaner | Cleaning staff | Their own assigned tasks on the Housekeeping board - nothing else |
| External Accountant | Your bookkeeper | Read-only books and statements, with export |
| Owner | A property’s owner | Their own Owner Portal only |
| Investor | A capital partner | Their own Investor Portal only |
Separation of duties, briefly
Section titled “Separation of duties, briefly”Sensitive actions are split into two recorded acts - a request that parks, and a decision that releases it - and the roles are shaped so different jobs hold different halves (a Guest Manager can request a refund; deciding it takes an Account Manager). Who requested and who decided is stamped on every row. If a button you expect is missing, that’s usually why. More in Concepts.
You’re set up
Section titled “You’re set up”That’s the whole onboarding story. From here:
- Browse guides by area for the screen you’re working in.
- Press Ctrl+K anywhere and just type.
- The Concepts section explains the ideas underneath - worth a read before your first month-close.