
Create your workspace
A workspace is your company inside Stay n Host: your properties, your team, your money. Creating one takes a few minutes, but one of its settings deserves real thought - read the callout below before you click through.
-
Sign up at app.staynhost.com/signup. Either:
- press Continue with Google (or Continue with Microsoft, for a work or school account), or
- fill in Work email, Your name and Phone number (with the country code, for example +1) and press Send me a confirmation link.
-
Confirm your email. With the email form, open the link we send. It works once and expires in 24 hours. Press Confirm and create my account, then sign in with an emailed link, opened on the same device and in the same browser. With Google or Microsoft there is nothing to confirm: their sign-in proves the address.
-
Confirm your phone. On Create your workspace, the number you typed is offered back (with Google or Microsoft you type it here). Press Send code, type the 6-digit code we text you, and press Verify. Nobody gets into the app until a code has confirmed their number.
-
Name the workspace and set the basics on the same screen:
- Company or workspace name - it appears on quotations, receipts, and owner statements.
- Base currency - every rate, quote, invoice and ledger entry is kept in it.
- Timezone - check-ins, nights, the daily report, and “today” itself follow it.
- Country - where you operate. It sets the phone country code for your guests, the ID document types you can record, and your starting payment channels.
-
Pick a plan. Hover a plan to see what it includes. Every plan you can start here begins with a free trial (it says how many days), and you are not charged today.
-
Accept the terms. Tick the box to accept the Customer Terms and the Data Processing Agreement on behalf of your business, then press Create workspace. Your trial starts now. More in Accept the platform terms.
Then finish General
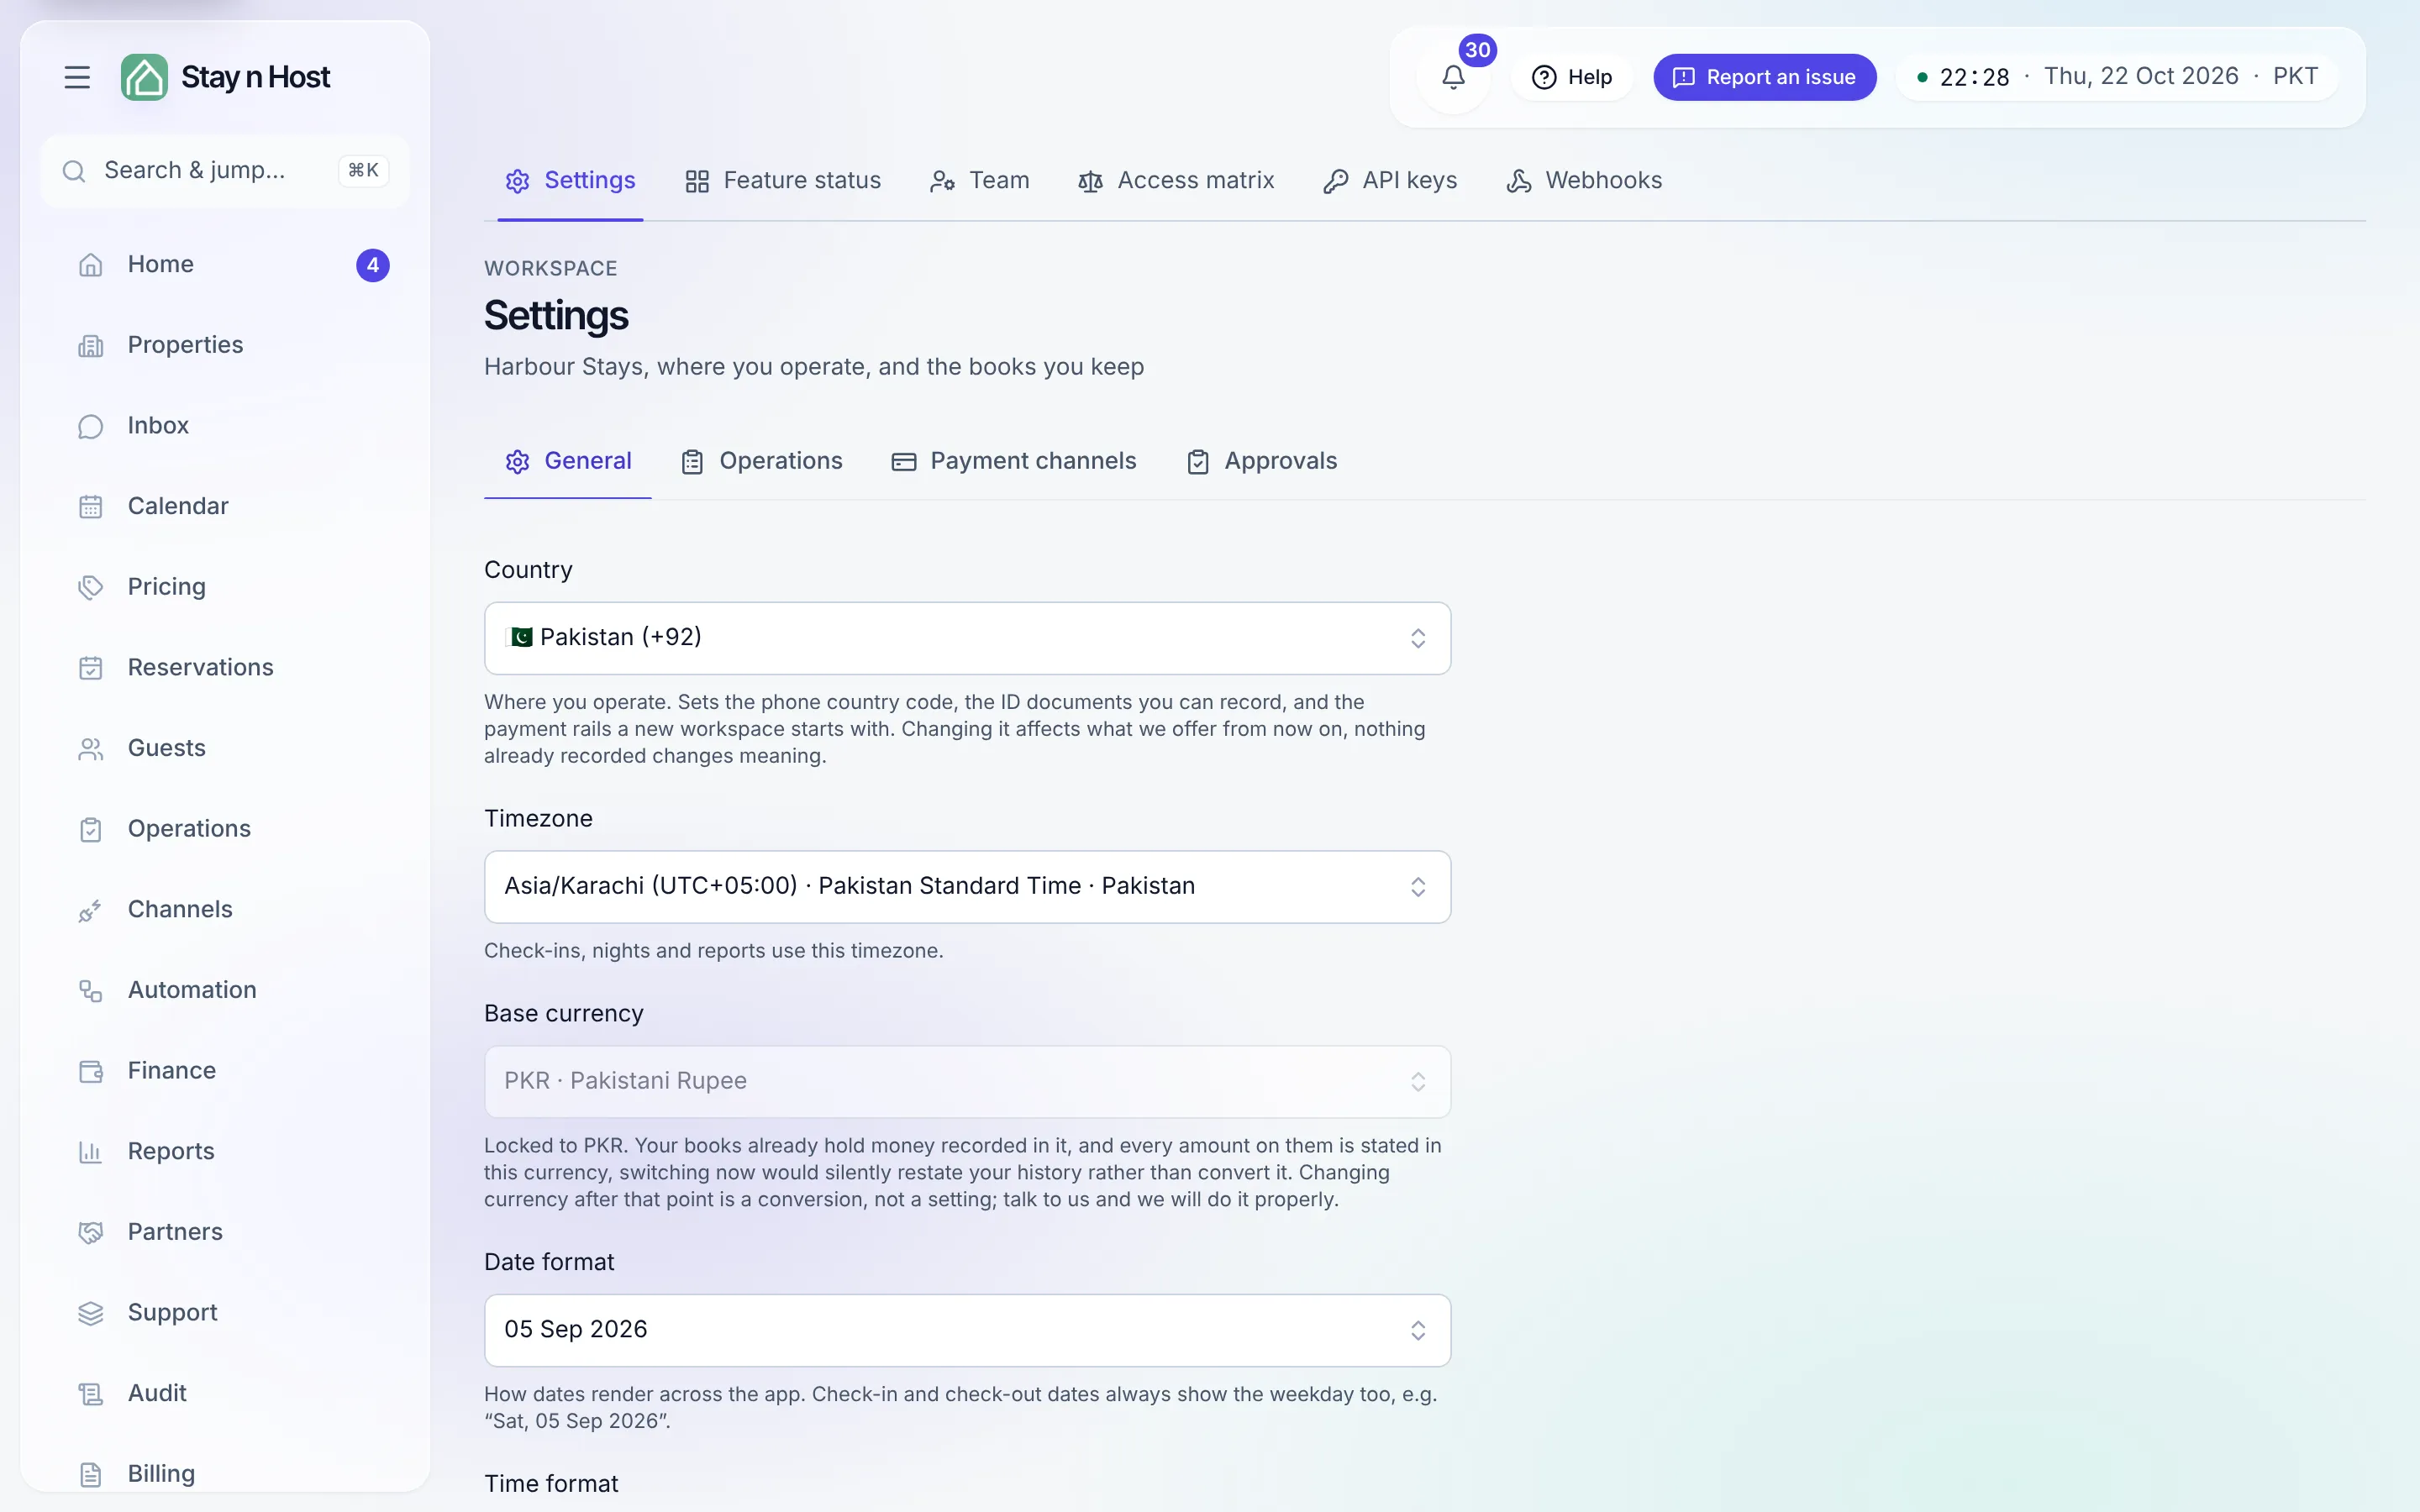
Section titled “Then finish General”Open Setup → Settings (the General tab) to set the Date format and Time format every screen uses, and to add your letterhead: upload a Logo and choose a Brand colour. Quotations you send carry both.
The other settings tabs, for later
Section titled “The other settings tabs, for later”You’ll come back to Settings throughout setup. It has four tabs:
| Tab | What it holds | Covered in |
|---|---|---|
| General | Country, timezone, currency, formats, letterhead | this chapter |
| Operations | Day-to-day timings and policies for your workspace | The Settings tabs |
| Payment channels | Which ways guests can pay you | Set up how you get paid |
| Approvals | Which actions wait for an approval step | The approval system |
WhatsApp is not a Settings tab: it has its own page, Channels → WhatsApp. See Connect WhatsApp.
What’s next
Section titled “What’s next”Your workspace exists - now put something in it: Add your first property.