
Add a property
A property is a building or site: the address, the schedule, and the house content everything inside it inherits. The New property wizard walks four steps - Property → Config → Photos → Review.
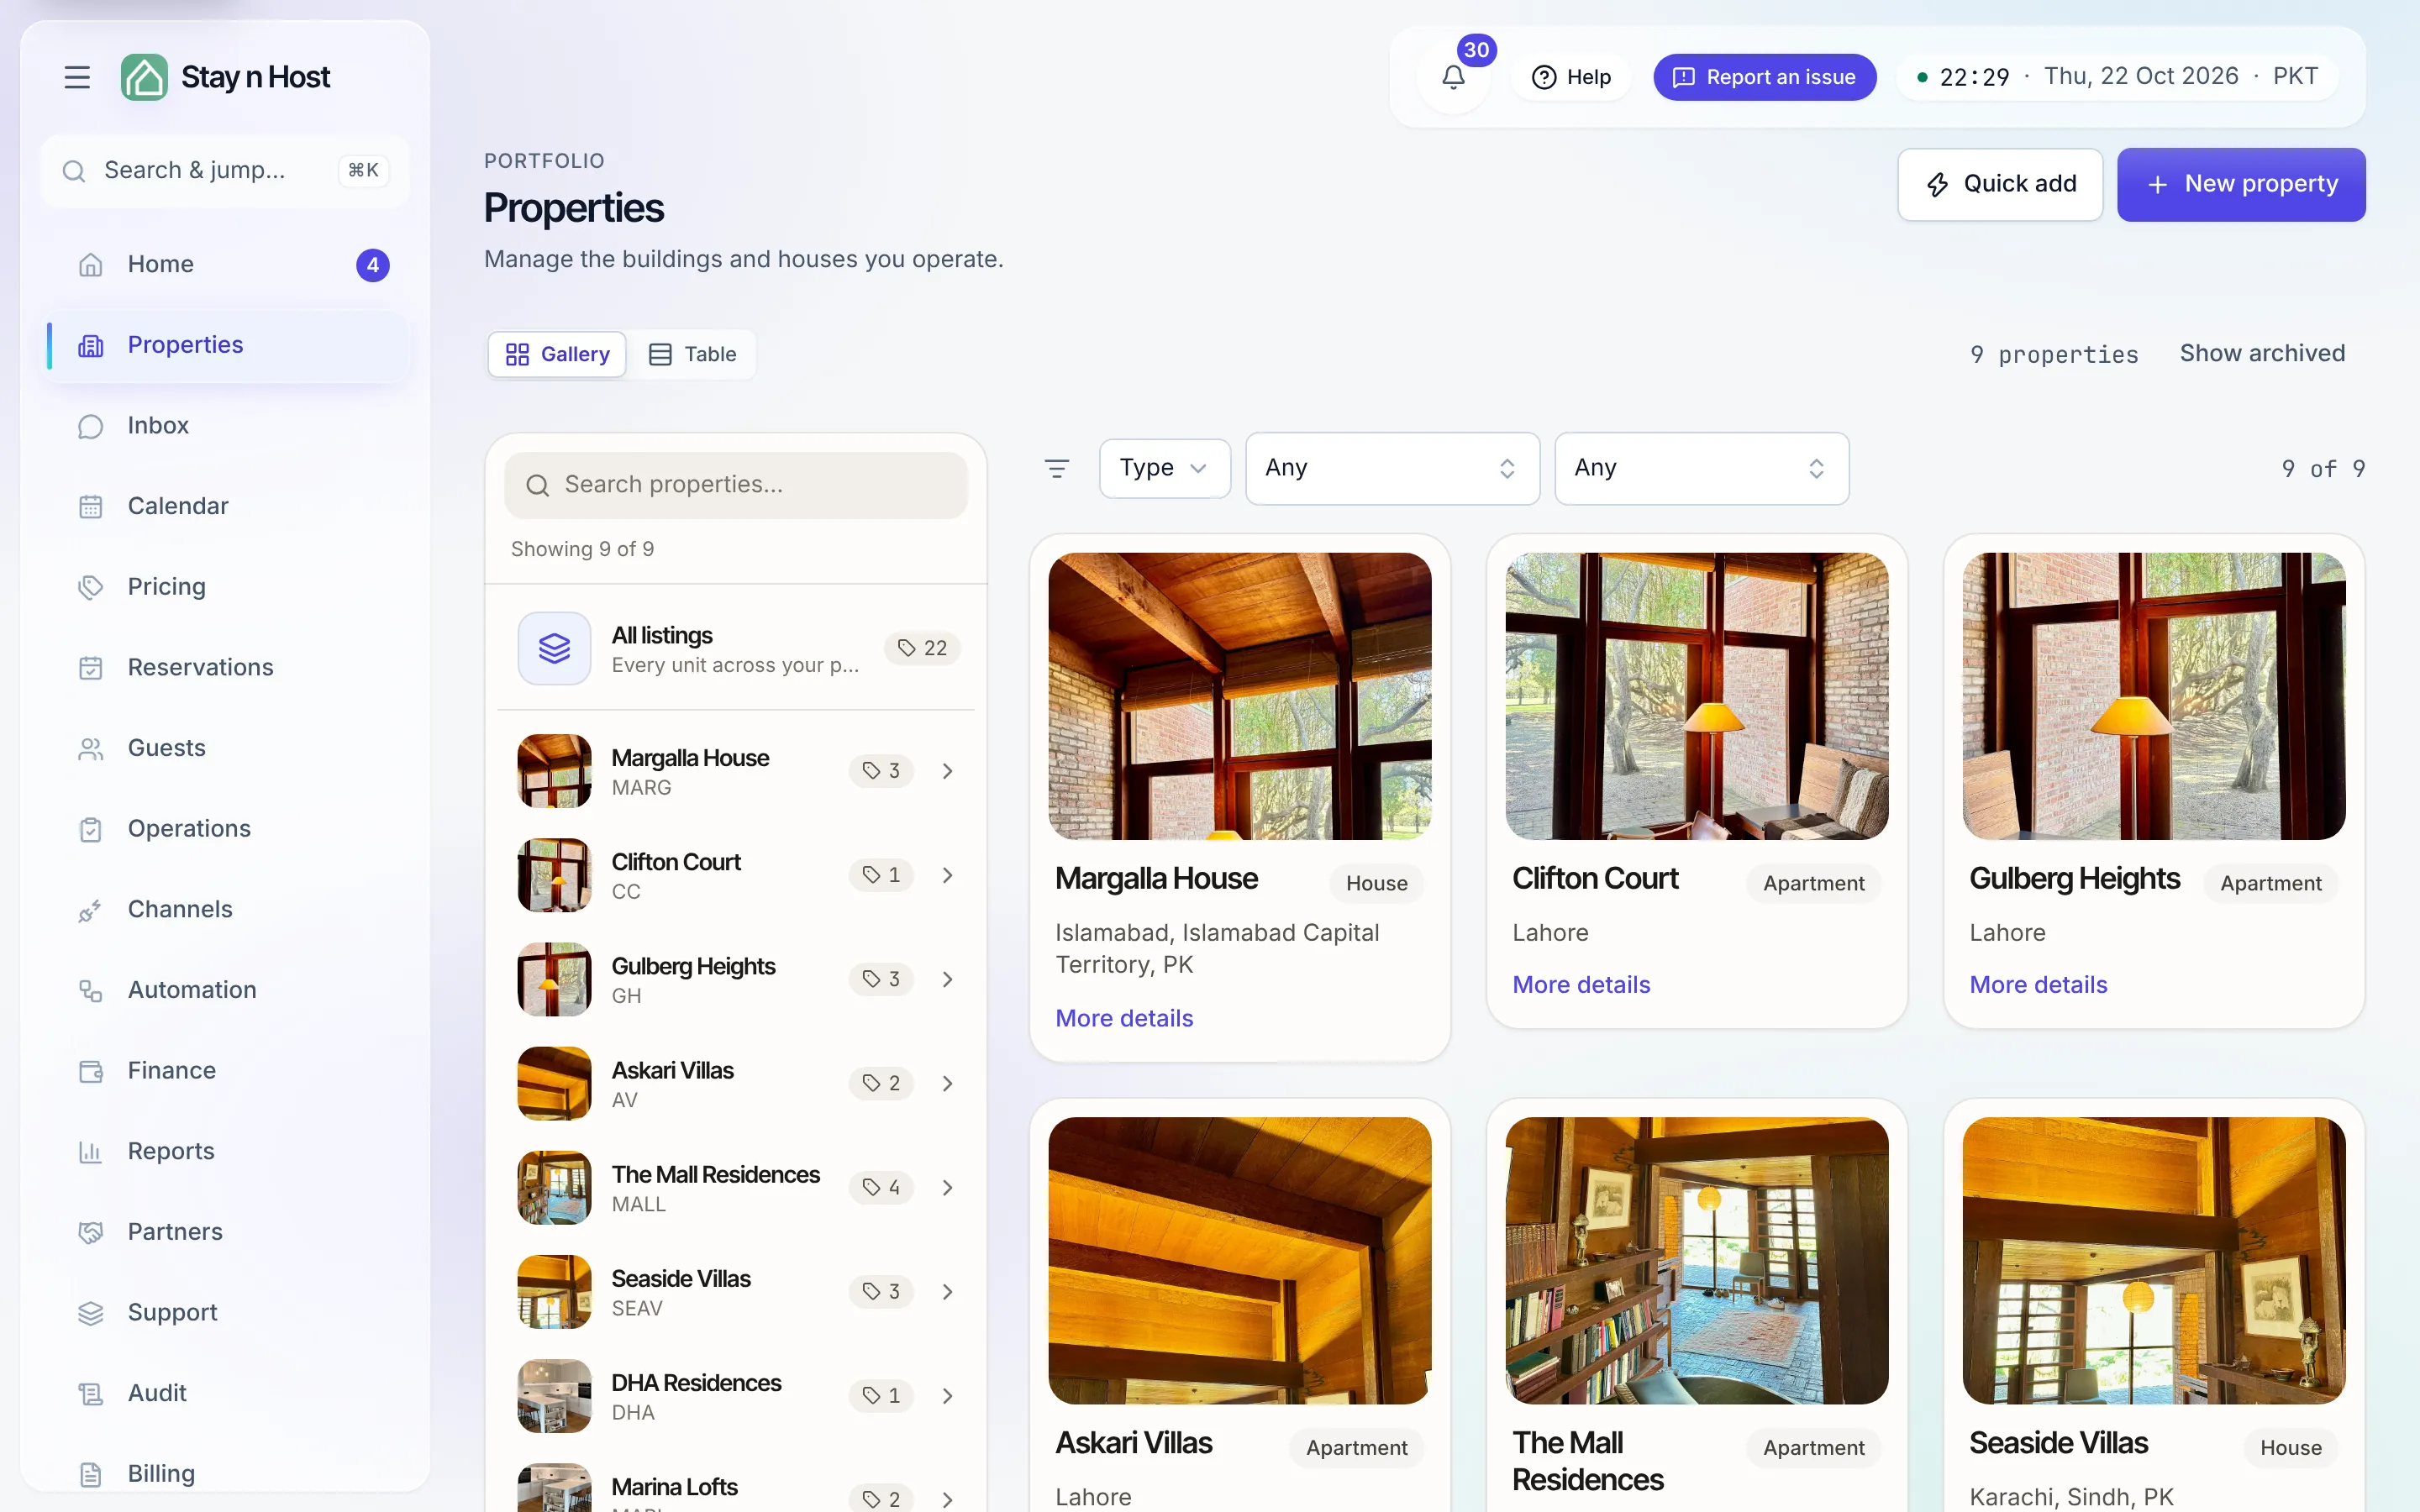
-
Open Properties (its own row in the hub rail) and click New property.
-
Property - name it, give it a short Code (letters, numbers, dashes; your team will see it everywhere), pick the Property type, and set the location. City is required; if yours is missing from the list, use “My city is not listed - type it instead”. Coordinates are optional - enter both or neither. Click Continue.
-
Config - the default Check-in time and Check-out time for stays, an optional Property manager (informational - it records who runs the building, it does not change anyone’s access), and the Reception contact details (email, phone, WhatsApp - all optional). Click Create & add photos. The property is saved at this point.
-
Photos - drag in photos or video (JPG, PNG, WEBP, AVIF - or MP4, WEBM, MOV). Drag to reorder; the first photo is the lead shown across the app. Photos are optional - you can come back later.
-
Review - check the summary and click Finish.
After the wizard
Section titled “After the wizard”Open the new property and its tabs run in build order: Listing types · Listings · Linked units · Content & policies · Policies · Quotations · Channels · Finance & operating model · Configuration. Work left to right:
- Create at least one listing type - a unit cannot exist without one.
- Add the sellable units.
- Write the guest-facing content.
What’s next
Section titled “What’s next”Create the unit categories guests actually book: Set up listing types.